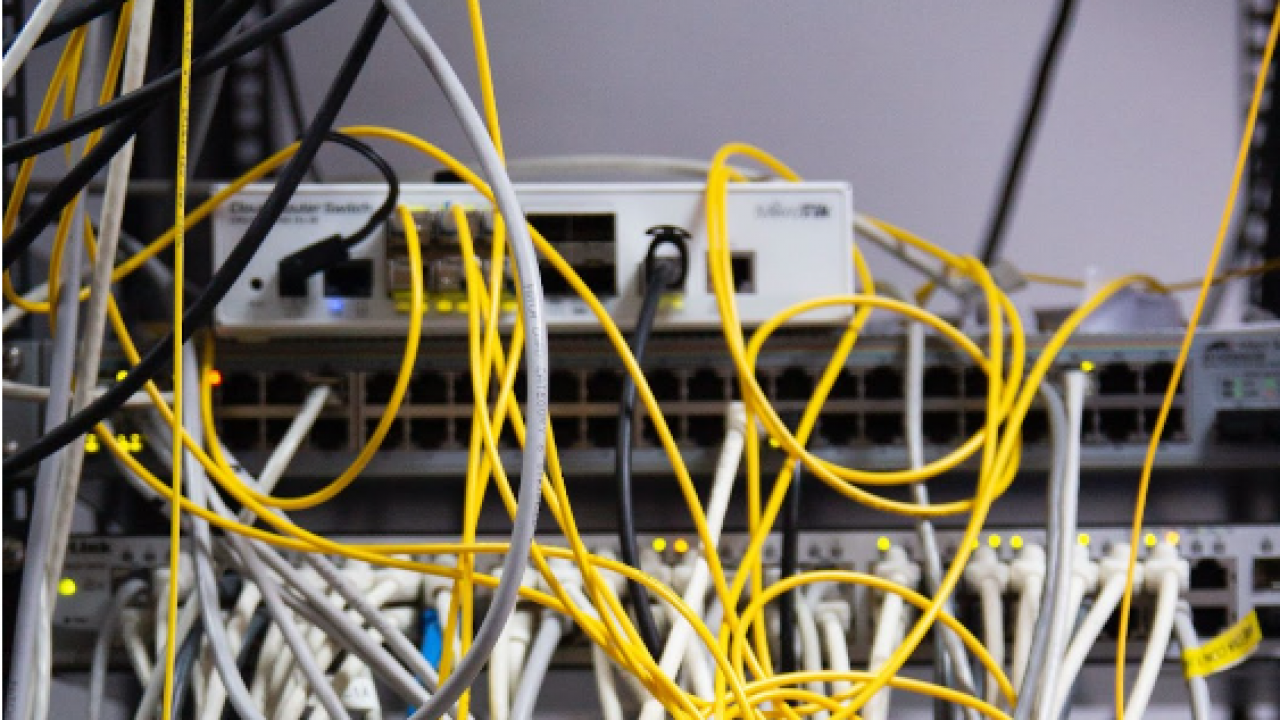
A wifi router is a gadget that enables you to access the internet from any location in your house. It’s pretty simple to set up, but it can be intimidating if you’ve never done it before. In this article, we’ll walk you through how to set up a wifi router to make it easy.
Table of Contents
1. Find a spot for the router.
What you need to do is to find a spot for your router. The most important thing is that you have access to it. That means it should be easily accessible and not hidden in the basement or attic. You can place it on a shelf, under the kitchen table, or anywhere with the ease of access.
A good location should receive a strong wifi signal that extends throughout your home or office, which is another crucial factor. Wifi routers derive signals usually from elevated places.
2. Plug in the router.
Plugging a router into an electrical outlet is the first step in setting it up. Next, ensure that you have turned on your router and have been given enough time to power up and display a solid green light on its front panel. Finally, if there’s no power button, ensure the on/off switch is in the “on” position.
3. Connect to the network.
You’re almost there! Now you need to connect your device to the network. This is where you will use your SSID and password.
- Connect by wifi. Connecting by wifi is the easiest way because it doesn’t require any extra equipment or hardware. First, on your device’s main screen, tap “Wifi,” then select “My Network.” On the following screen, choose the name of your network, enter its password, and tap join. You should now be connected!
- Connect using cable (Ethernet). If there are no wireless networks available in the range or you want a faster connection than what wireless offers, use an Ethernet cable instead of Wi-Fi.
4. Find your router’s web interface.
Through the router’s web interface, you’ll be able to do this on a computer connected to your network or through a mobile application like Google Wifi. This method will allow you to access your settings and other information about your network, including its name and password.
5. Log in to your router.
It’s time to log in. Most routers have 192.168.1.1 as their default IP address (192.168.0.1 or 192.168.0.2). Check the manual if you can’t find your device’s default username and password information, but they’re usually admin/admin or root/password (if there are separate user accounts).
If none works and you can’t figure it out by consulting any provided documentation, you can try resetting your router by unplugging it from its power source for 30 seconds, then plugging it back in.
6. Enable WPA2 Wireless Security.
The WPA2 protocol is the latest and best wifi security protocol. Therefore, it is highly recommended that you enable it on your router. WPA2 uses AES encryption, one of the most secure forms of encryption. If you have a new router, it will automatically be set up to use WPA2 by default. You may need to configure your router’s settings for older routers manually.
7. Set an admin password.
This step is necessary to maintain the security and safety of your network. You should use a password at least eight characters long and ensure it contains letters, numbers, and symbols in random order. It’s also advised that you don’t use personal information for your router’s admin password—especially if someone else has access to it (like neighbors who share your internet connection).
Be sure to change this password regularly—at least every six months or so—and never re-use one across different accounts or devices where you access private information like email accounts and social media platforms.
Conclusion
Setting up a Wifi router is easy. We hope this manual has been useful in getting your network up and running.
Author’s Bio: Rosette has a knack for anything DIY, but not only that, she also knows a lot about manly chores and tech stuff as she spent her younger years immersed in books about tools and technology. She makes it a point to write about the things she’s most passionate about during her free days.


