When it comes to stick on kitchen backsplash, there are a few different kinds of surfaces that can be used to create an accent in your kitchen, from tile and stone to wood or metal. One thing that all these materials have in common is that they can’t be moved around once installed.
If you don’t think your needs will change or if you have the time and patience to install the backsplash tiles once and not move them later on, this project may be right up your alley.
Table of Contents
1) What You’ll Need
- Measure the area you want to cover with tiles.
- Peel off the backing paper from one side of the tile(s) you would like to start installing on your wall, then press it firmly against the desired surface.
- Work your way down (or up) the wall, pressing each tile firmly into place as you go, ensuring that there are no air bubbles or spaces between tiles.
- Remove any excess adhesive from around each tile with a scraper or putty knife before moving onto the next one if necessary.
- Apply an even layer of grout over the entire back surface of your backsplash using a small trowel or spatula. Use care not to get too much grout on the front of tiles – this will leave marks and make them difficult to clean later.
- Allow the grout to dry for at least 30 minutes before wiping away any excess grout residue with a wet sponge.
- Continue working your way around the room until all sides have been covered by peel-and-stick vinyl tile
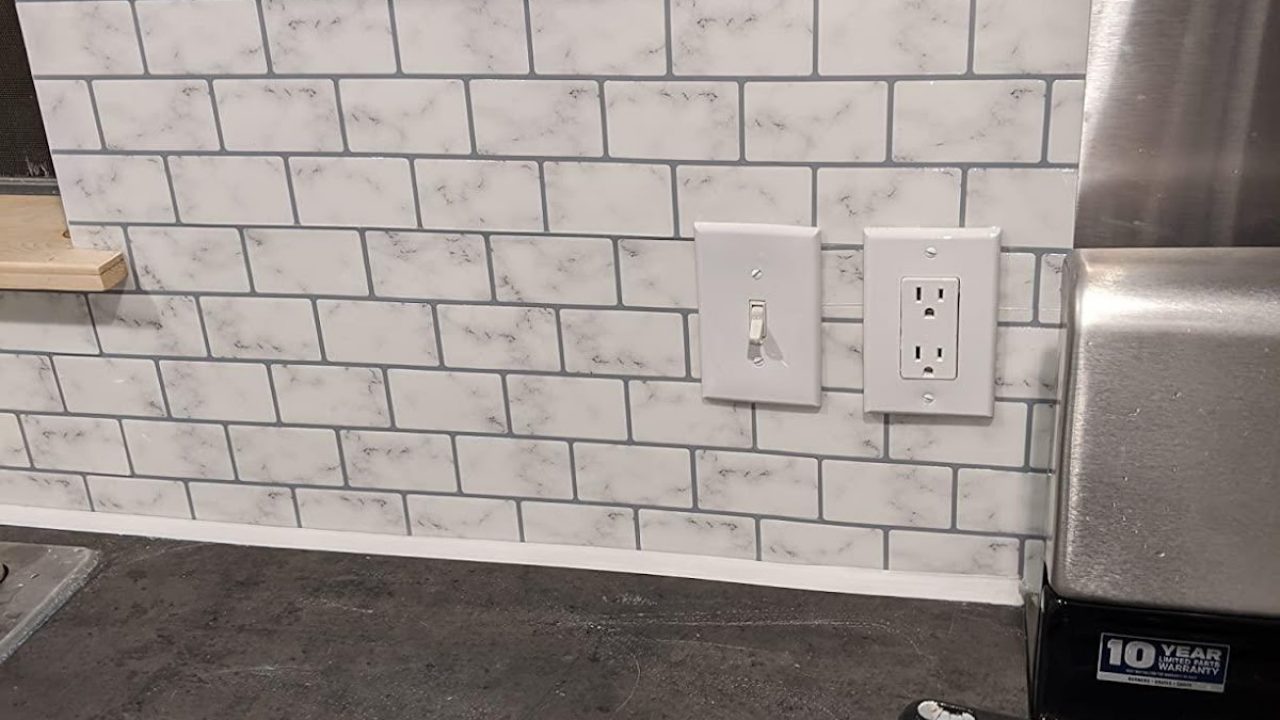
2) Preparing the Surface
First, you need to prep the surface. Remove any old tile or grout from the surface with a putty knife or scraper. Use an adhesive remover if necessary. Wipe down the area with water-diluted dish soap and allow it to dry thoroughly. It’s important that there is no grease on your surface before installation so that the tiles stick properly.
Unroll each tile onto the clean, dry surface and make sure that they’re all level with one another (each row should be straight). Using a wet sponge, use a light pressure to firmly push each side of the vinyl tape up onto the smooth ceramic surfaces of your walls.
If you’re using self-adhesive tiles, start by pushing one corner of the tape up at an angle to make sure it’s secure. Then take one end of the strip and fold it under itself while stretching tight as you go along.
3) Measuring and Cutting the Tiles
Measure the back of your cabinet. Add 1/8 inch to your measurement for the depth of the tile. Calculate how many tiles you need. For example, if your cabinet is 30 inches deep, you will need 29 tiles (30 + 1/8 inch = 31/2; 29 tiles divided by
4) Applying the Tiles
-Be sure that the surface is clean and dry before applying any tiles. The cleaner the surface, the easier it will be to remove any bubbles or air pockets.
-Remove one tile at a time from the backing paper, making sure not to touch the adhesive side of the tile with your fingers. Then place it on your countertop so that it lines up with where you want it.
-Use a credit card or other stiff plastic card, like an old gift card, to push out any air bubbles from under the tile. If there are still some bubbles left after pressing them out with your plastic card, use a needle (or toothpick) to pop them.
5) Sealing the Tiles
Clean the surface of the wall. -Peel off the backing of the tiles. -Place them on the wall, starting at one corner of your chosen design. Make sure they are firmly pressed against each other and not overlapping by more than 1/2 inch.
If you’re using multiple pieces, make sure they are aligned so that their edges meet evenly with no gaps or overlaps. -Apply adhesive to each tile along the edge, removing any excess adhesive with a damp cloth before it dries onto the tile surface.